TangCore Retro Gaming Installation Guide
🎮 Supported Devices
| Board Model | FPGA Capacity | Compatible Cores | Status |
|---|---|---|---|
| Tang Console 60K | 60K LUT | All cores | ✔️ Great |
| Tang Console 138K | 138K LUT | All cores | ✔️ Great |
| Tang Primer 25K | 25K LUT | NESTang, SNESTang | ✔️ Experimental (v0.7) |
| NESTang/SNESTang |
📦 Pre-Install Checklist
- Bouffalo Flash Cube v1.1 (in
tools/bflb_tools/bouffalo_flash_cubeof Bouffalo SDK, also a local standalone version here) - MicroSD card or USB 2.0 drive (FAT32/exFAT, ≤32GB recommended)
- USB-C OTG adapter with power pass-through
- Valid GBA BIOS (
gba_bios.bin) - Valid PC/XT BIOS (
bios.bin) - Latest TangCore Release Package
🔧 Firmware Installation
- Extract release package
-
Launch Flash Cube → Browse → Select:
(e.g.,flash_console60k.ini) -
Boot Mode Activation:
- Hold BOOT button → Connect USB → Release after connection

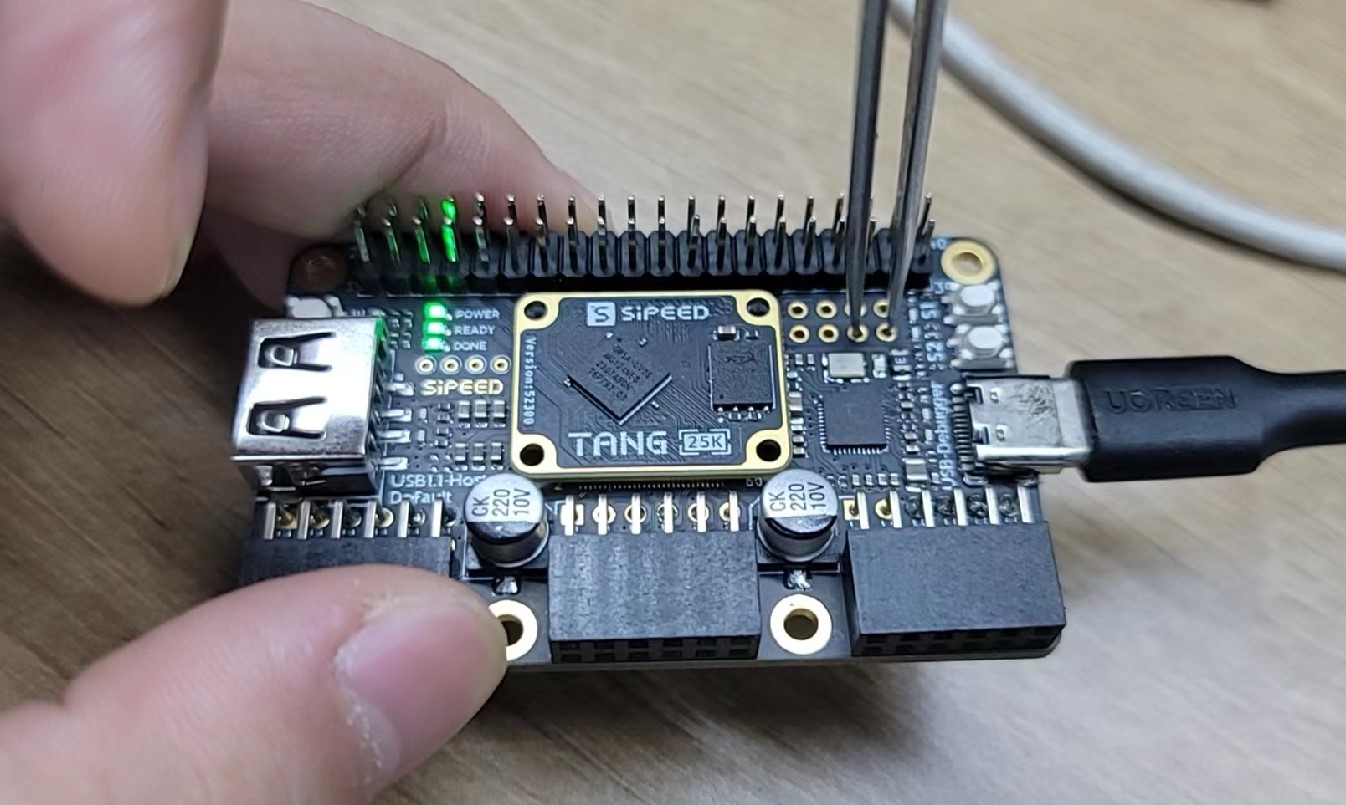
-
Note for Tang Primer 25K: the primer does not have a BOOT button. Short these two pins and connect USB instead.
-
Flash Process:
- Refresh COM ports → Select Port/SN → Download
- Confirm success screen:

Green status indicates successful programming
🕹️ Game System Setup
SD/USB drive content
📁 /
├── 📁 cores/        # `cores` directory from release
│    ├── 📁 console60k/
│    └── 📁 console138k/
├── 📁 nes/          # .nes rom files
├── 📁 snes/         # .smc/.sfc files
├── 📁 gba/
│    └── 🗎 gba_bios.bin  # GBA BIOS
├── 📁 genesis/      # .bin/.md files
├── 📁 sms/          # .sms files
└── 📁 pc/           # .img floppy images
│    └── 🗎 bios.bin  # PC 5160 BIOS
Hardware Assembly
- Connect components as shown (DS2 controller setup shown):

Left: OTG+USB | Right: DS2 PMOD+Wireless Receiver | Top: HDMI output
- Power sequence:
-
Insert USB drive → Connect OTG → Apply power
-
Initial Boot:
- FPGA auto-programs (5-7 sec)
- Main menu appears

Navigation using gamepad